Schedule Demo

HIPAA-Compliant Telehealth Software
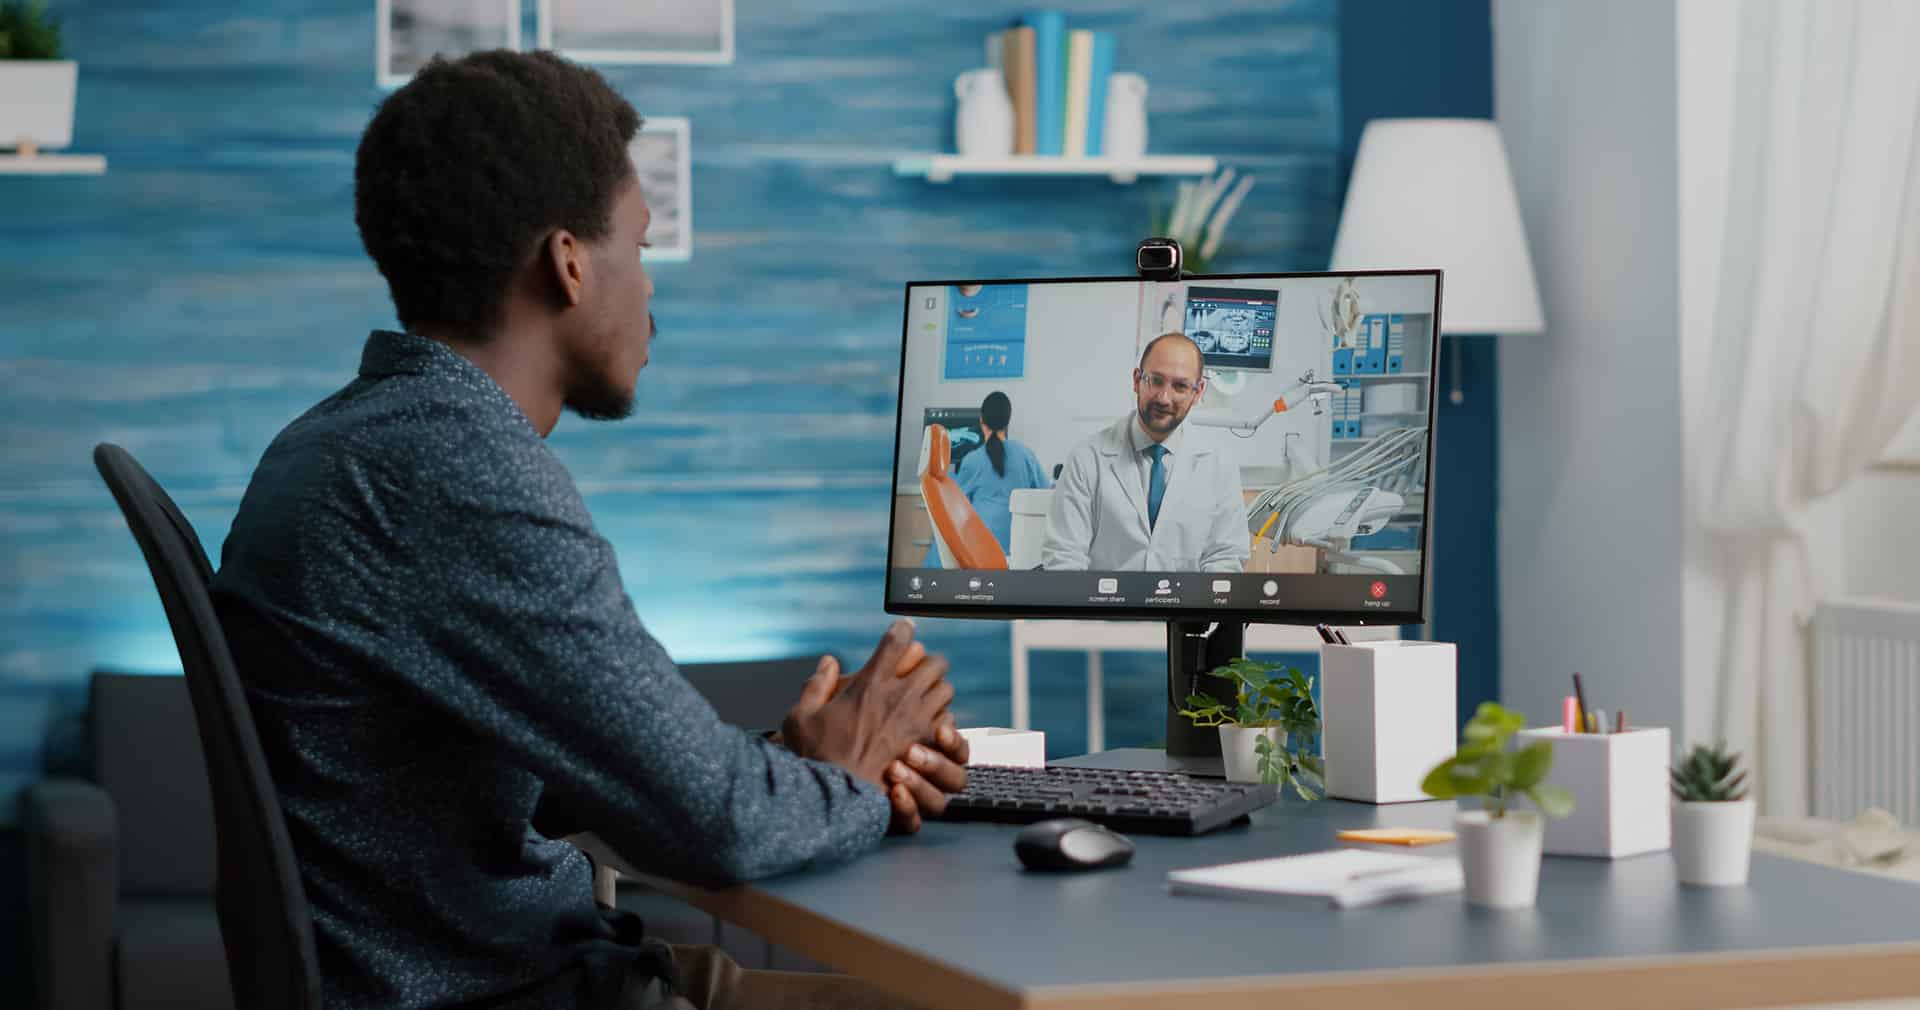
With DrChrono, you can schedule and conduct telehealth visits directly from your EHR. Our HIPAA-compliant, easy-to-use telehealth platform lets you create online appointments and send automated emails to your patients without any additional software, downloads, or complicated setups.


One Platform for All Your Patient Needs


Integrated Telemedicine Platform
Schedule and conduct visits directly from your EHR platform.
Patient Scheduling
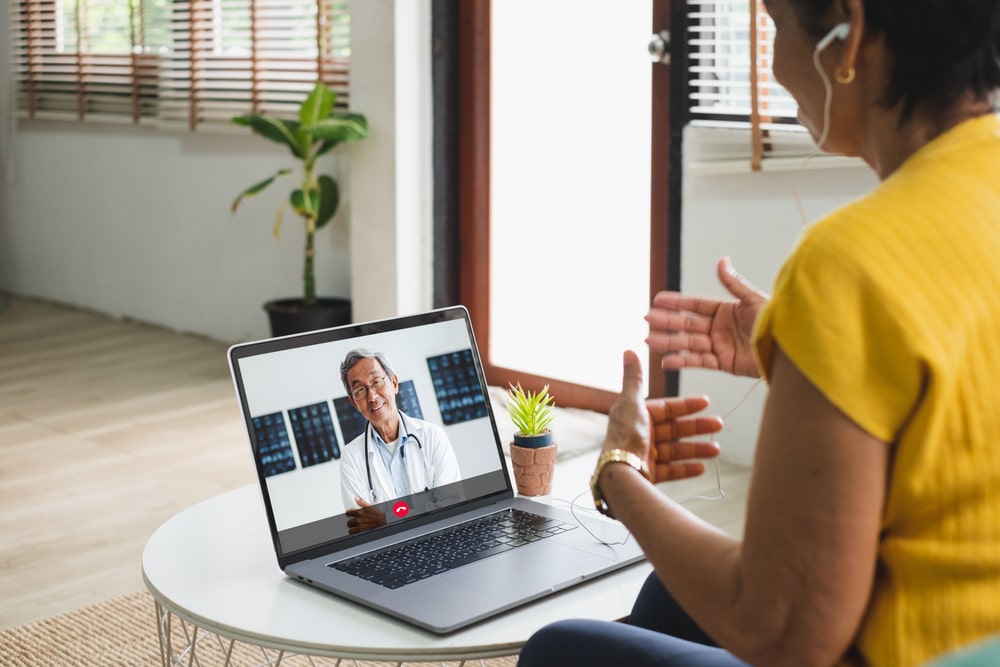
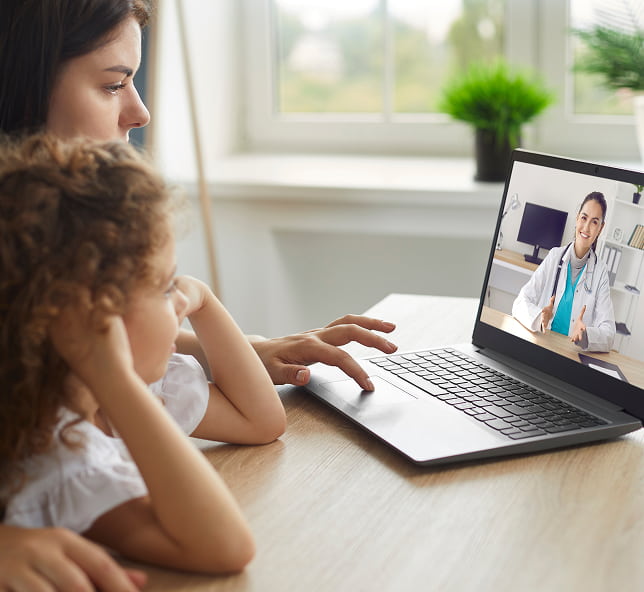
Patients can take a video visit from their desktop, iPhone, or iPad, as well as sign consent forms once an appointment is scheduled.
Easy Onboarding
Patients have the option to receive a link to the virtual visit without any set-up required on their end.

Enhance Patient Engagement with Telehealth
Patients can quickly and easily schedule a new telehealth visit or convert an existing in-person visit to a video visit with one click.
-
Code our scheduling tool onto an external site of your choice
-
Add your DrChrono calendar availability for patients to schedule
-
Pre-set appointment profiles to populate billing codes, consent forms, and reasons for visit
-
Make care accessible and comfortable
-
Improve patient communication
-
Provide care with secure, integrated video systems
-
Streamline the patient check-in experience
-
Select forms tailored to your specialty for a personalized care experience
-
Update patient records in real-time

DrChrono Telehealth required no set up and was easy to launch directly from within DrChrono where at the same time, I was able to view the patient’s medical record and chart during the virtual visit. Patients don’t have to spend time downloading software prior to the meeting making it much easier to connect. Moreover, consent for telemedicine and sharing documents is a breeze via the OnPatient portal.
Dr. Surinder Saini
Gastroenterologist
“I was surprised at how easy DrChrono was to learn and pick up. It was very easy to catch up on the key information regarding a visit looking at just the appointment profiles and check-in information which was collected electronically in the front. The task scheduler also made it easy for the providers and staff to collaborate on patient care. Overall DrChrono is extremely user-friendly with a great customer service team that’s easy to reach and super helpful."
Debbie Wilson
Physical Therapist
“Our patients love the convenience of online scheduling and virtual visits. It’s made our practice more accessible while reducing the administrative workload on our staff. DrChrono’s telehealth integration is seamless and lets us focus on care—not technology.”
Dr. Michael Reynolds
Family Medicine